Freephone: 0800 733 030
‘Tis the season to stain your deck… how to do it like a pro!
Updated: Oct 20, 2020
It’s nearly that time again: festivity, family, leftover turkey and long, lazy afternoons outdoors. Before you deck the halls, how about giving the actual deck a little tender loving care, so you can enjoy lounging on it all summer long? It is the season of giving, after all.
At Colourplus we stock top-quality woodcare products from Cabot’s ®. And, of course, we have the expertise to help you up your DIY game before you get started on your project. Read on for our top wood staining tips and take a look at this handy how to video from Cabot’s®.
1. Assess your timber
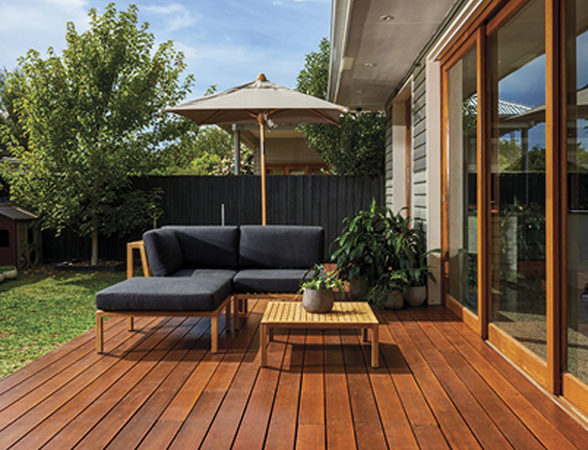
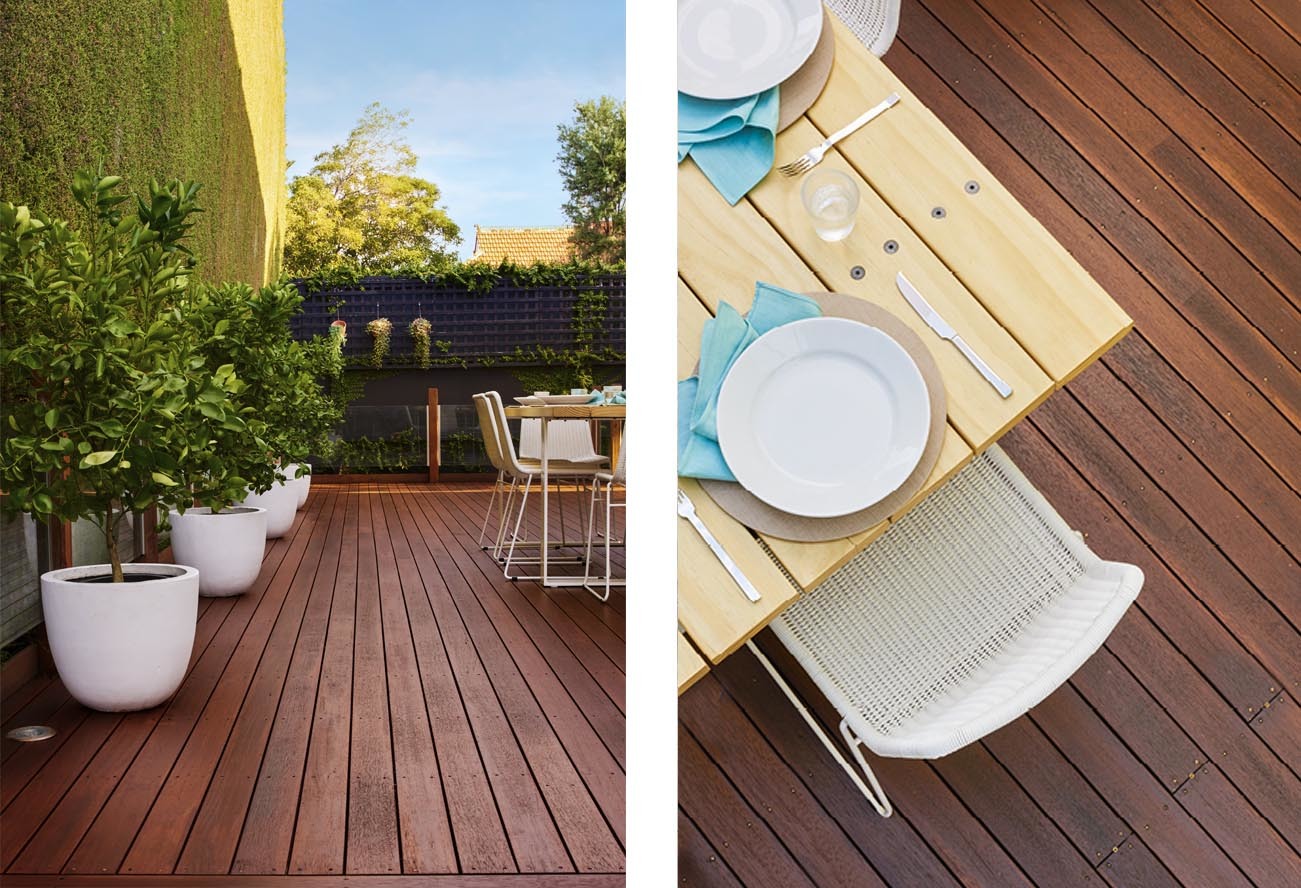
New timber, greying timber and timber that has already been painted or stained require different preparation methods. It also helps to know what kind of wood you’re dealing with – different timber varieties look different with the same stain over them. So, take a long hard look at your deck.
New, bare timber
Good news! You don’t have to wait weeks for your timber to weather before you apply stain. Use Cabot’s® New Timber Prep to draw out the natural tannins, oils, treatment residue and contaminants.
Greying timber
If your once-beautiful wooden deck has gone slightly grey, give it a clean (see point 5). Cabot’s® Deck Clean can restore mildly weathered timber. But if the greying is significant, or your deck is deeply cracked, you’ll need to sand it back before you clean. Take the water bead test (see step 4) to be sure.
2. When to choose a decking oil
Decking oils preserve and nourish the natural colour of wood. This is where knowing your timber will come in handy. If your deck is Kwila, for example, you may want to use an oil to preserve its deep red-brown hue.
Our favourite decking oils
- Cabot’s® Aquadeck – Aquadeck nourishes the timber and gives a durable finish that lasts twice as long as traditional decking oils
- Cabot’s® Natural Decking Oil – this is a traditional decking oil that nourishes and protects, giving a semi-transparent matt finish
3. When to choose a wood stain
Wood stains add colour. So if you want to enhance your timber with a new colour, or if your deck is very weathered, a stain could be the way forward. You’ll also need to decide whether a water-based, or oil-based wood stain, is right for you. Both have advantages. Water-based stains dry quickly, are easier to clean up, give off less odour and can keep their colour for a longer period of time. Oil-based products can penetrate wood more deeply and give a more durable finish.
Talk to a Colourplus consultant at your local store to discuss your specific needs.
Our favourite wood stains
- Cabot’s® Water Based Deck and Exterior Stain – a long-lasting water-based stain, that rejuvenates and transform the colour of outdoor timber. Colour can be intensified by applying multiple coats
- Cabot’s ® Oil Based Deck and Exterior Stain – an oil-based stain that transforms and rejuvenates exterior timber colour, with a huge variety of colour choices
4. Take the water bead test
Sprinkle a few droplets of water on your deck and wait several minutes. If the water is absorbed into the wood, you’re good to go straight to step 4 (cleaning)! But if the water forms beads you’ll need to do a little more preparation. New wood will need further weathering and old wood will need sanding or stripping with a paint stripper.
Why bother with the bead test? A timber surface that doesn’t absorb water won’t absorb a new wood stain or coat of paint. It’s good to know if this is the case before you spend part of your precious weekend applying your chosen product.
5. Scrub it clean
Dirt, oil and grease can show under a new stain or layer of paint and affect the finish. So make sure you scrub your timber down with a specialist decking cleaner like Cabot’s® Deck Clean. Even new, bare decking needs a good wash with this cleaning solution (after weathering for 4-6 weeks or being treated with Cabot’s® New Timber Prep, of course).
Apply Deck Clean by scrubbing the solution into your deck with a hard bristled brush. Wait 20 minutes, then hose your timber down.
6. Application station
You’ll need:
- Cabot’s® Deck Prep
- Cabot’s® Deck Hand Bucket
- Cabot’s® Deck Coat (at Colourplus we stock Cabot’s lambs wool decking applicators)
- A paintbrush
Tape it up!
Treat your deck like a regular paint project and apply tape to the edges of adjoining surfaces. This will help ensure tidy edges. And of course, remove furniture, plants and other items from your deck.
Edges first
Give your wood stain or decking oil a stir before pouring some into a paint tray. Then, use your brush to cover the deck edges. If you’re using a spray system to apply stain to wooden railings, do this first. Cover your deck with tarpaulins or drop cloths and complete all the coats on your railings before you move on. You don’t want to accidentally spray the deck!
Get going!
Use the decking applicator to apply the oil or stain to a few boards at a time. For a flawless finish, work along the entire length of each board until you reach a natural break.
When you’ve coated the whole deck, wait before applying a second coat. Dry time depends on the product you’ve chosen. Aquadeck requires one hour between each coat; Natural Decking Oil six hours; Water Based Deck and Exterior Stain two hours; and Oil Based Deck and Exterior Stain 18 hours.
7. Admire your handiwork
And… relax! Pour yourself a glass of something festive. Put your feet up on that beautiful, well-kept timber. Give a cheeky wave to your jealous neighbours. Go as far as suggesting they ask Santa for Cabot’s® from Colourplus this Christmas.
Find My Store